
Today’s tutorial is showing you the stitches you will need to complete the brooch as I’ve done mine.I am entirely self-taught so please note,these are my ways of doing the stitches,i’ve done pictures to go with my explanations but if you are in any doubt there are plenty of other sites online that may explain it in a better way for you. You will need 2 strands of your embroidery thread to get the same effect as mine,they separate off from the rest of the skein very easily,just make sure you don’t have too long a length or you’ll get in a ravel.NB if you are right handed your hand will be across your work so don’t panic if your hands aren’t in the same place as mine in the photo’s when you’re stitching,i used my (rather battered and not at all glamorous) left hand so you could see what was going on.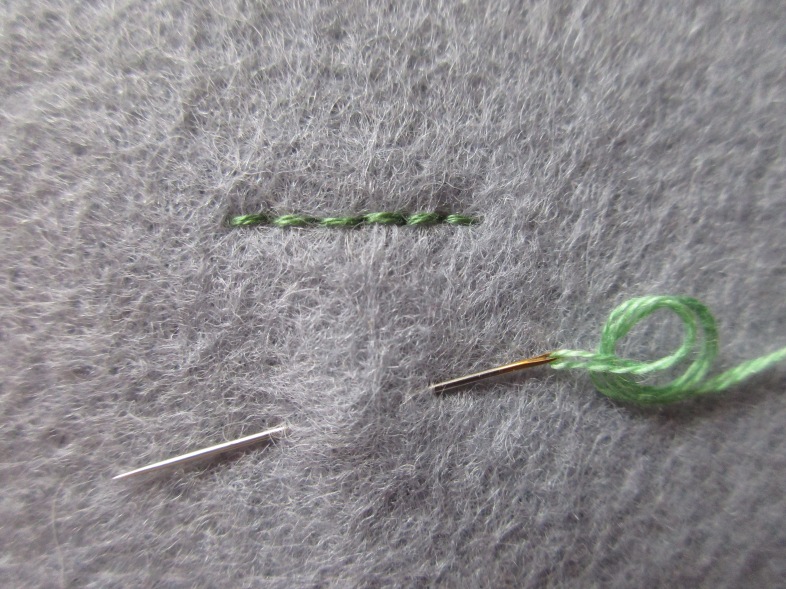 1.Backstitch.This creates a continuous line of stitches with no spaces between,it’s good for outlining,writing and decoration : Thread your needle with 2 strands of thread and tie a knot in the end .Bring your needle up through the back of the fabric at the start of the line you want to stitch,my first stitch in the line above was the furthest to the right.Choose how long you want your stitches to be,i do use small stitches but do whatever looks right to you,take the needle down at the point you want your first stitch to end (see picture below)
 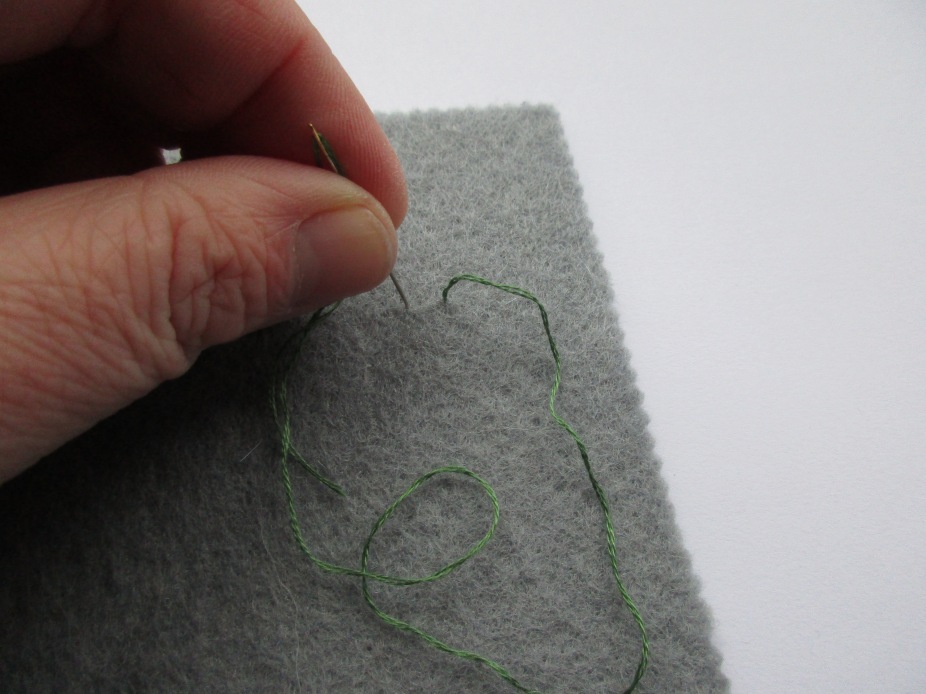 Then pull your thread all the way through so you have 1 completed stitch (in picture below)
 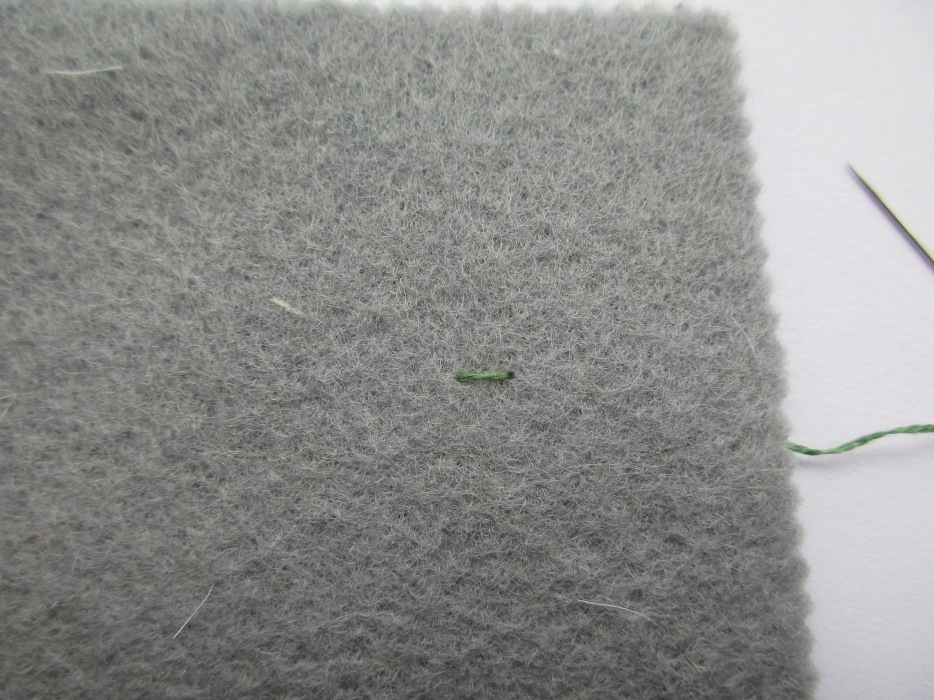 Next,bring your needle back up from the back of the fabric a stitch length away from where you ended your first stitch (see picture below)
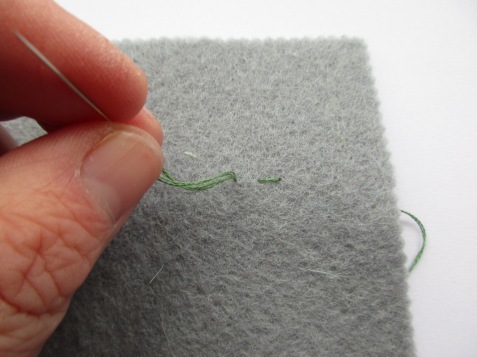 Pull the thread all the way through again and then insert the needle back down at the end of your first stitch,so you’re bringing the thread back to where you finished your previous stitch hence back stitch.(See the picture below if you’ve not got the foggiest what i’m on about,that’ll probably explain better 😀 )
 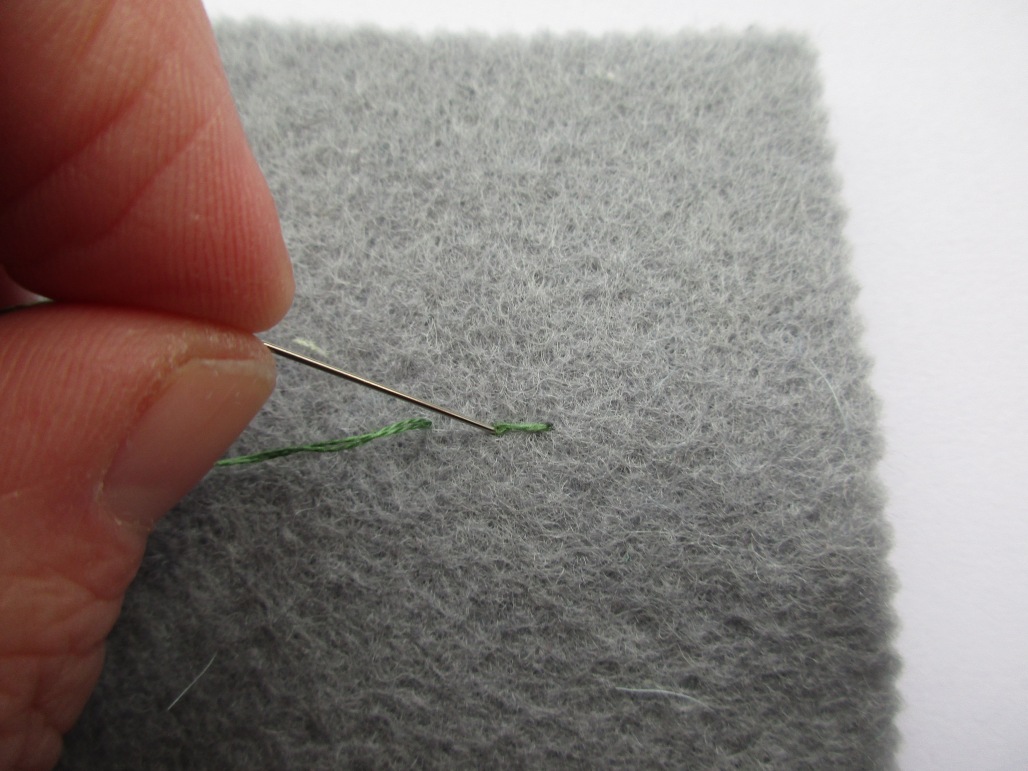 Carry on repeating the steps and you’ve cracked back stitch 😀
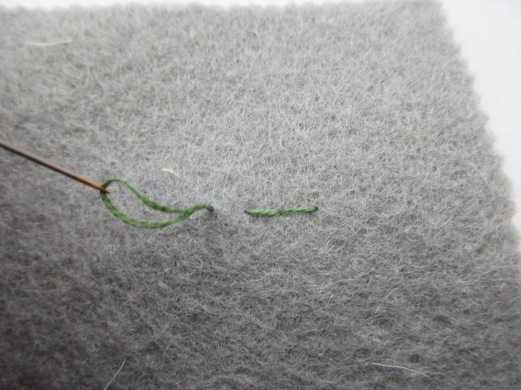
 2.Blanket stitch.Makes an attractive edging,good for stitching fabric together and applique.Blanket stitch looks tricky but really all you’re doing is creating loops with the thread : Thread your needle with two strands of embroidery thread and tie a knot as before,choose your starting point.Inset your needle through from the back of the fabric as far below the top of the fabric as you want your stitch length to be (I measured the length of my stitches on a few things and they are 4-6mm long but as I’ve said before my stitching is small so the size is entirely up to you) Pull your thread all the way through from the back and do a small stitch vertically like this
  I have read so many different directions learning this stitch and didn’t find any that managed the first stitch without it being wonky so this is the way I’ve worked out how to get it as tidy as possible.Bring your needle and thread up from the back and over the top of the fabric then insert the needle back down at the base of this little stitch.(see picture below )
 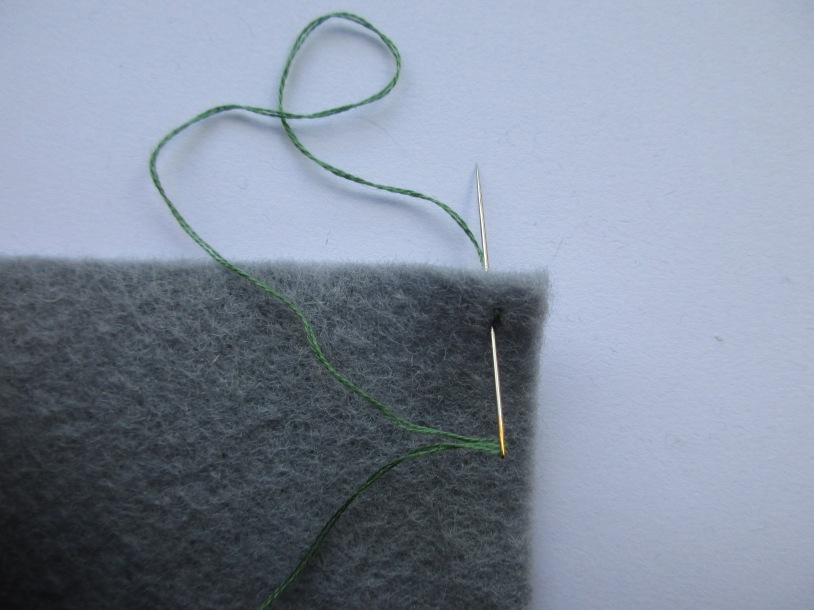 This forms a loop,you need to then put your needle through the loop and gently pull the thread through (see picture below) Always keep your excess thread to the left to prevent it knotting up.
 When it is pulled all the way through you should have this –
 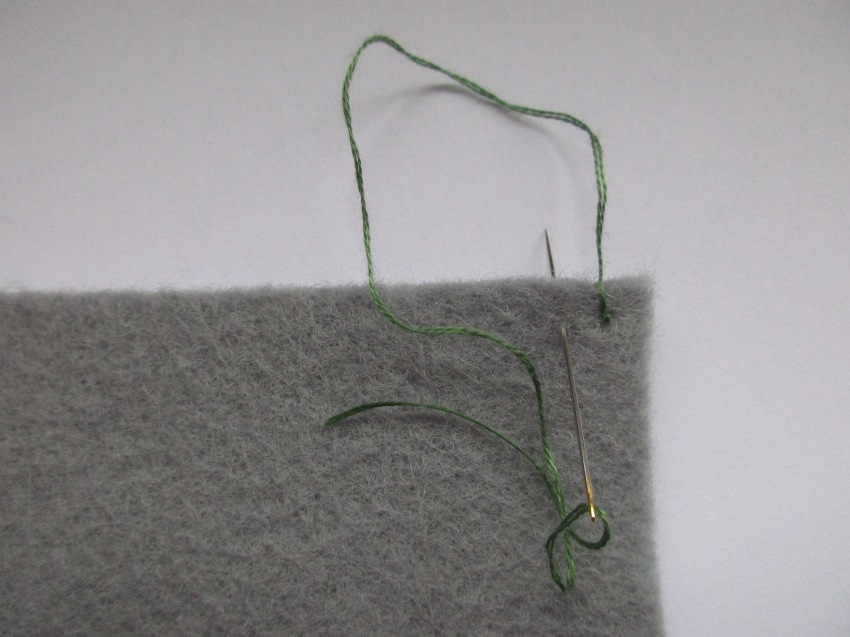 Next,still keeping the excess thread over to the left,insert your needle through the front of the fabric a few millimetres away from your first stitch,make sure that where your needle enters is level with the bottom of your first stitch as I’ve shown in the picture above.This will form a loop as before,make sure your needle stays over the front of the loop of thread and pull your thread through it (see picture below).
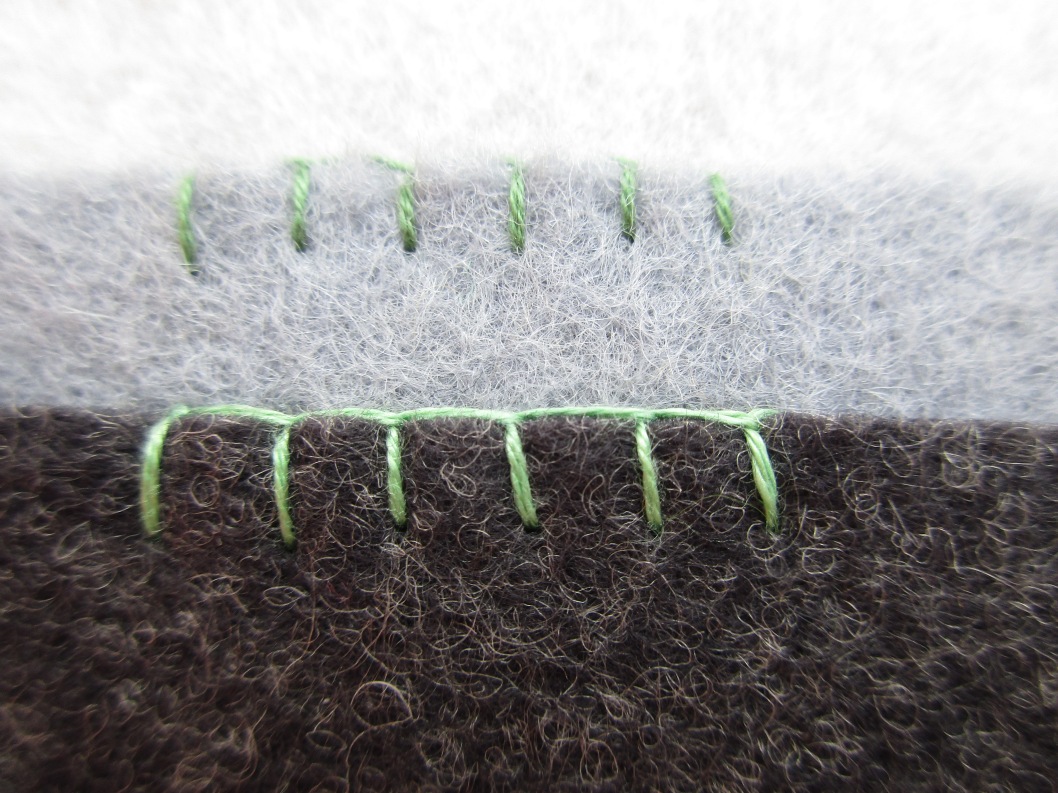
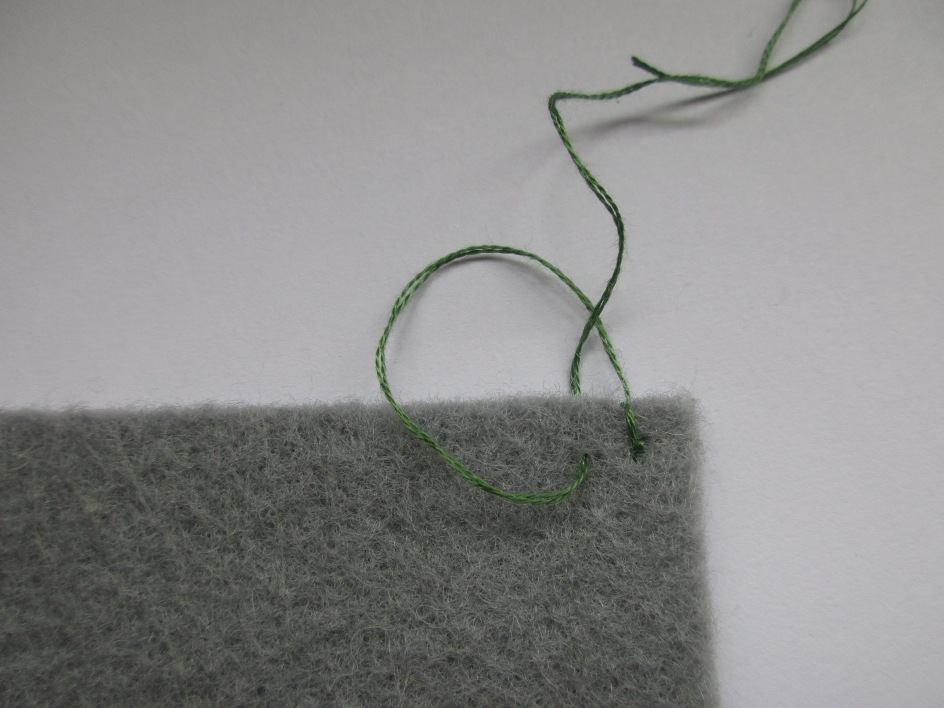 Carry on repeating this and after a few stitches,it will look like this –
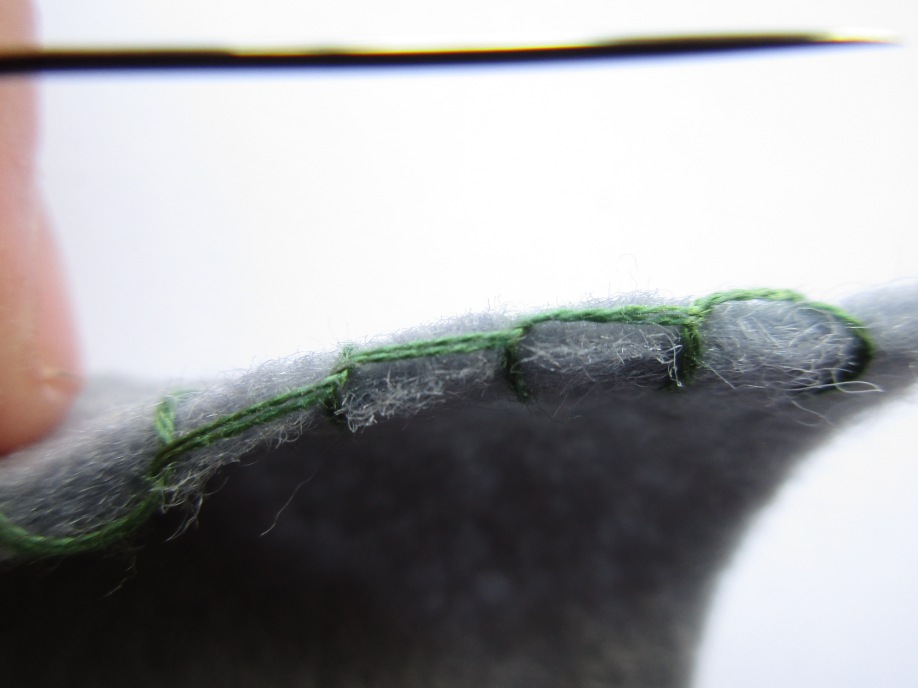 If you are using blanket stitch to applique something to a backing fabric treat the edge of the applique as the ‘top’ of the fabric as with the darker grey felt below.
 3.French knots.The last stitch you may find useful are French knots,don’t panic,it may take a bit of practice but once you’ve mastered it you’ll wonder why it ever stumped you. 😀 .The key to this stitch is taking it slowly and not using too long a piece of thread.(this causes knots that most definitely aren’t French!!).
 You’ll need both hands for this so you might find it easier to do it at a table rather than on your lap at first.Thread your needle with two strands of embroidery thread and knot as before,bring your needle up through the back of the fabric at the point you want your knot to be.Pull the thread all the way through and then with your hand that isn’t holding your needle,hold the loose thread a few centimetres above the surface of the fabric (see picture below)
 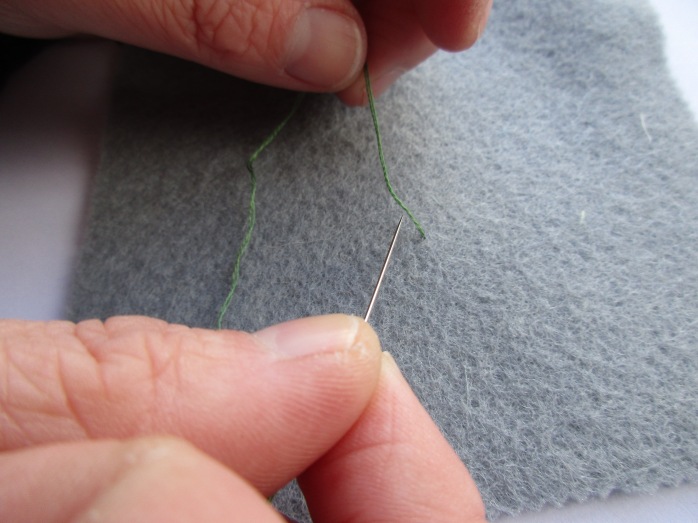 Put the needle behind the section of thread between the fabric and your fingers and wind the thread around your needle twice (see picture below)
 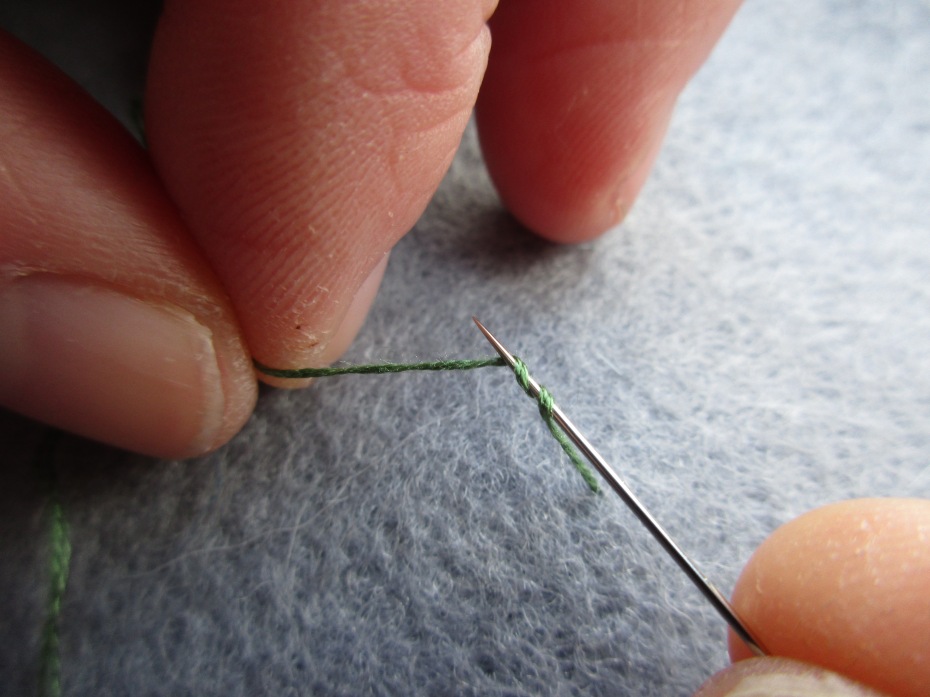 Still keeping the thread taut with your non-needle hand and the loops firmly around the needle,insert the tip of the needle back down into the fabric very close to where it first came out but NOT down the same hole or your knot will vanish.Keeping the thread held with your free hand but not too tightly ,as the needle goes through pull gently with your needle hand,make sure the loops leave the needle and stay on the surface of the fabric.(see pictures below)
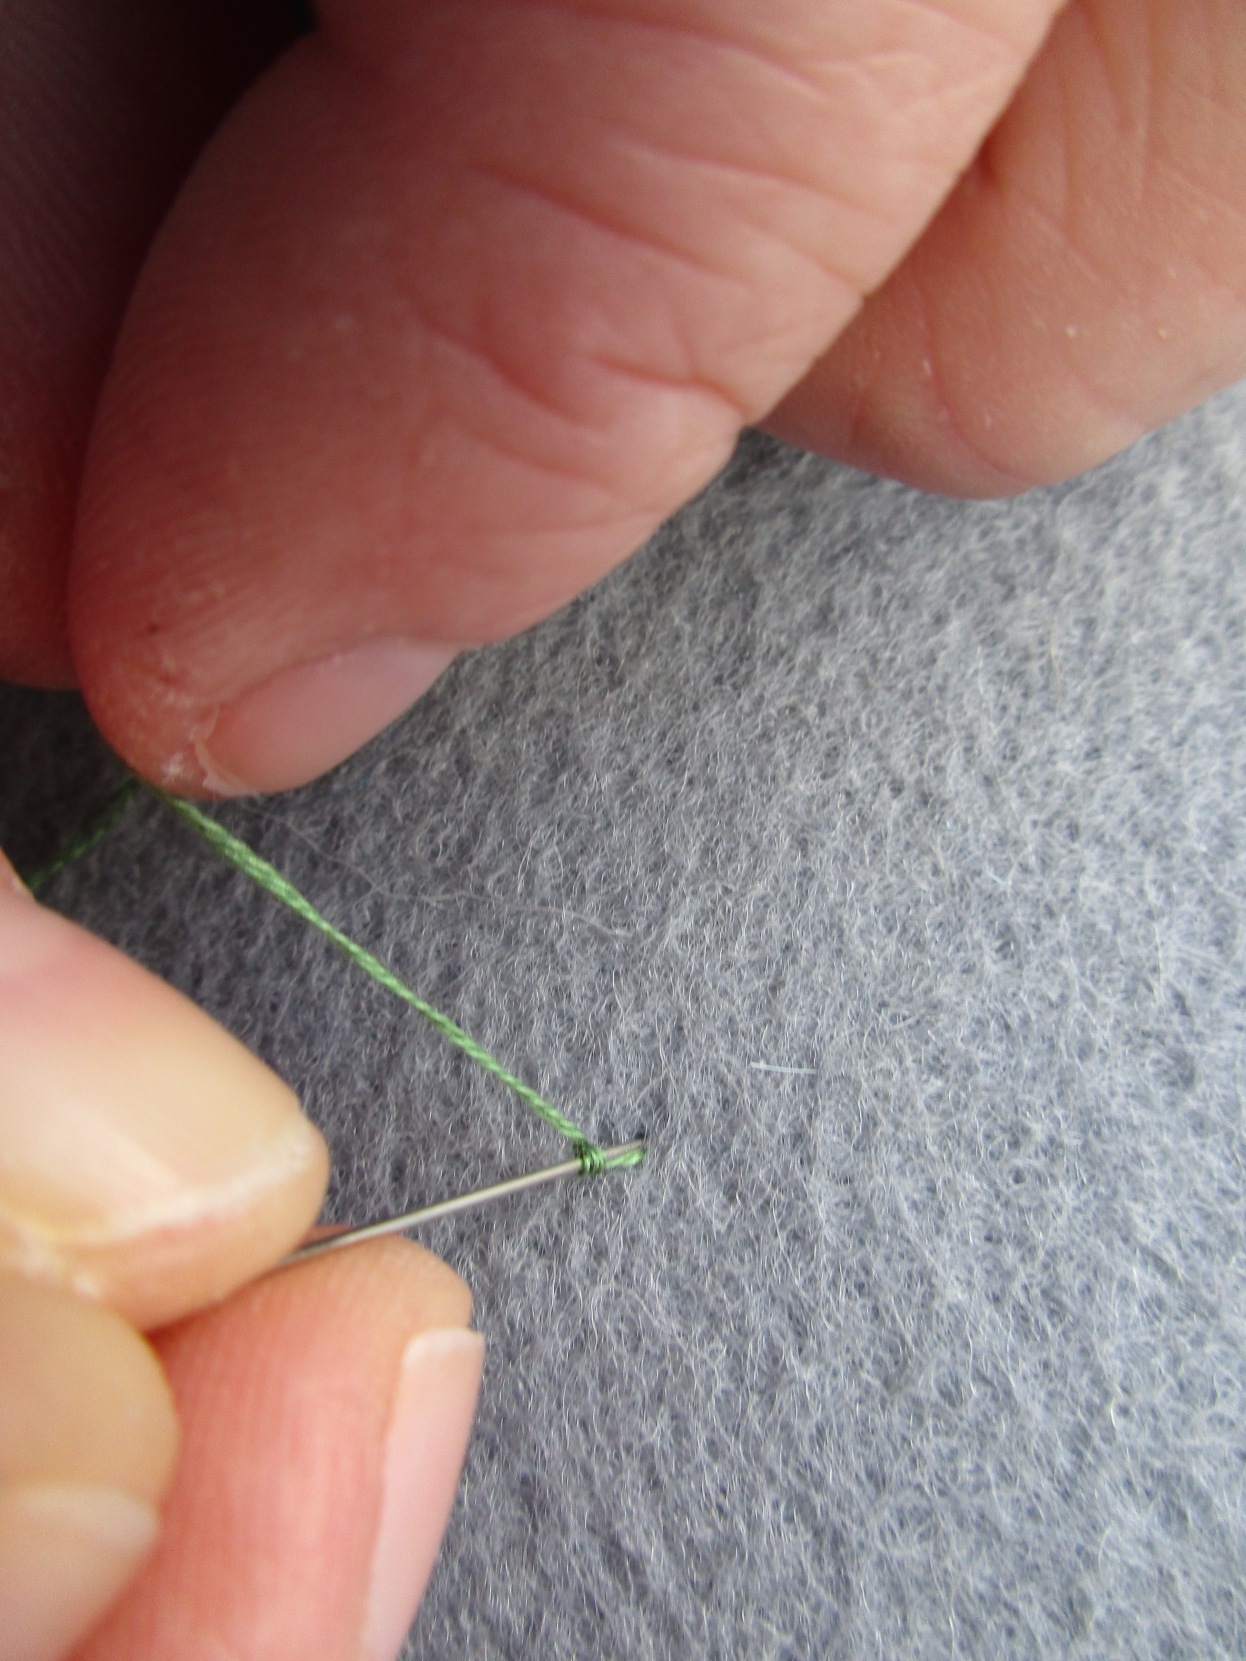 Let the thread feed through your fingers until it’s too short to hold then let go.This process must be done slowly and gently or you’ll get in a ravel.
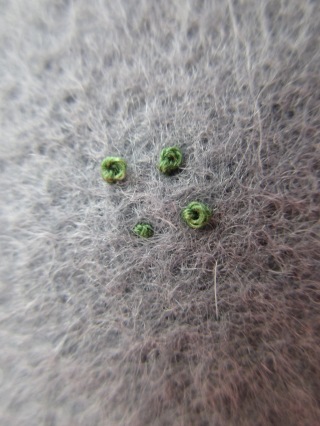
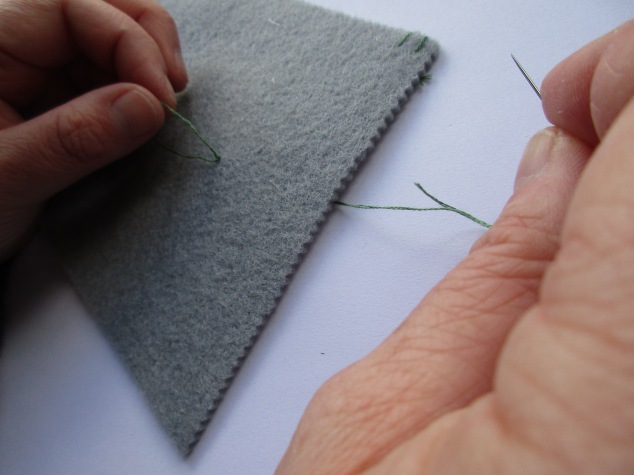 You SHOULD end up with a neat little knot but don’t worry if you don’t at first,this is notoriously difficult.It may take some practice but once you’ve got it,it’s such a useful stitch for texture and details like eyes.
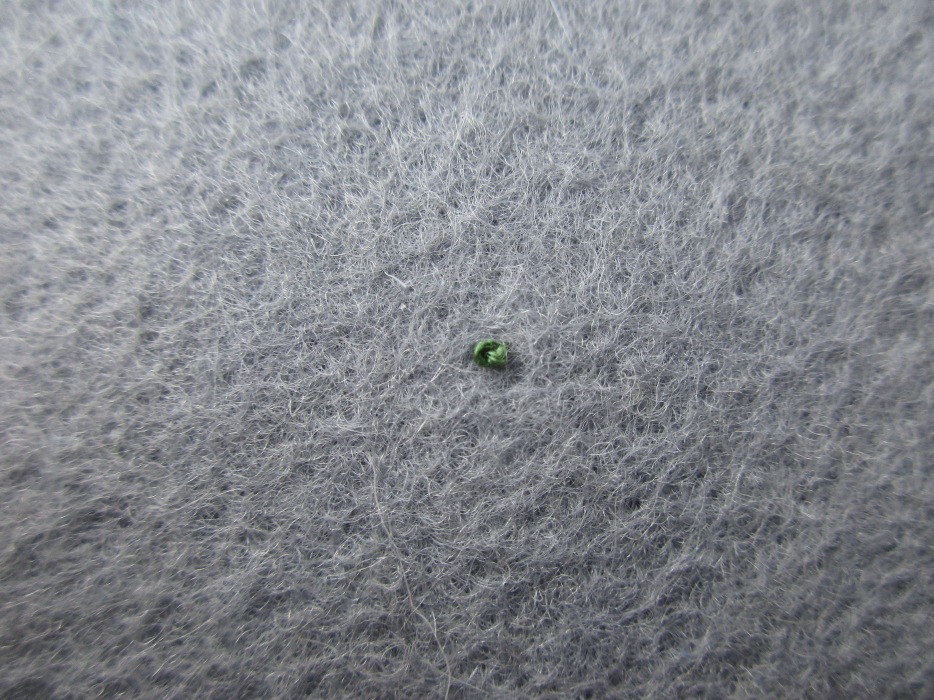 There,that’s me done for this week 😀 Next week i’ll show you how to put everything together and make your brooch.As with the last stage,please don’t hesitate to ask if you’re stuck either in the comments here or over on my Facebook page (link further down the page) Also as before,please could I ask you to click ‘Like’ either at the top of the post or below it so I can judge if it’s actually been useful.Thankyou for reading and happy stitching,Elaine
 MATERIALS YOU WILL NEED –
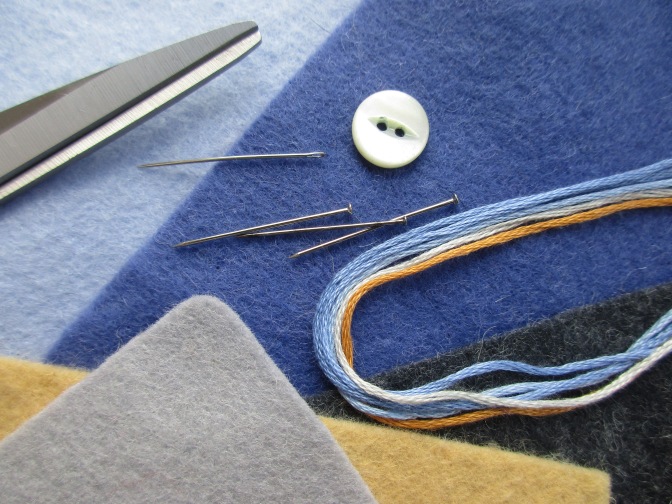 I’m going to show you how to make your templates first,this is the way I do it,there is no ‘right’ or ‘wrong’ way though,if you’re struggling just find an image the right size and trace the outline but please have a crack at this first,you might enjoy it 😀 You need to work out how big you want your brooch first of all,mine is 5cm across and 4cm tall but I do like working with fiddly little things so if you want yours bigger,go ahead,just make a few of the boxes in different sizes as i’m going to show you below,cut them out and hold them up to your lapel,your brooch will end up just a bit larger than this box so you can judge by that if your brooch will be an ok size for you.This box is where you are going to draw your bird template,doing it within the box ensures you keep it the size you want.
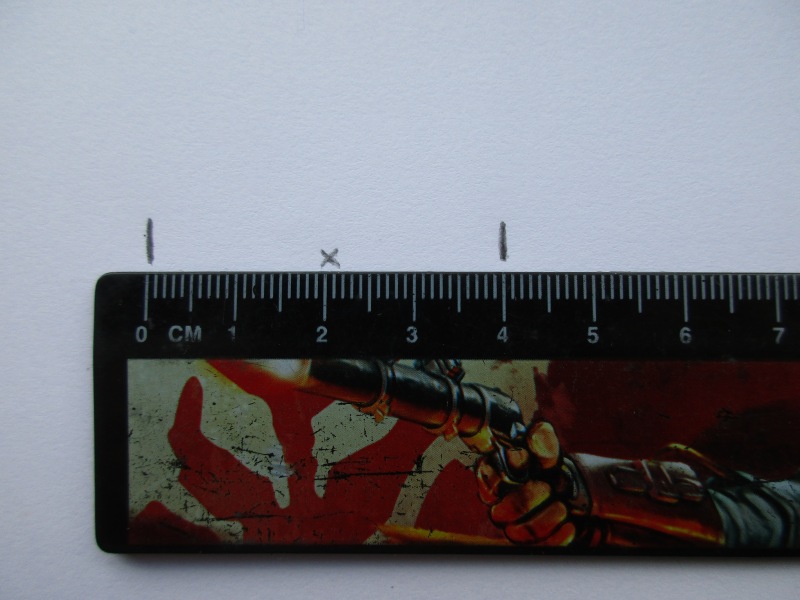 Please excuse my Son’s Boba Fett ruler 😀 To do my bird to fit a 5cm x 4cm brooch I drew 2 marks 4cm apart,in the centre,i drew the little cross.Next,line your ruler up vertically with the cross and put marks 3cm apart as in the picture below.
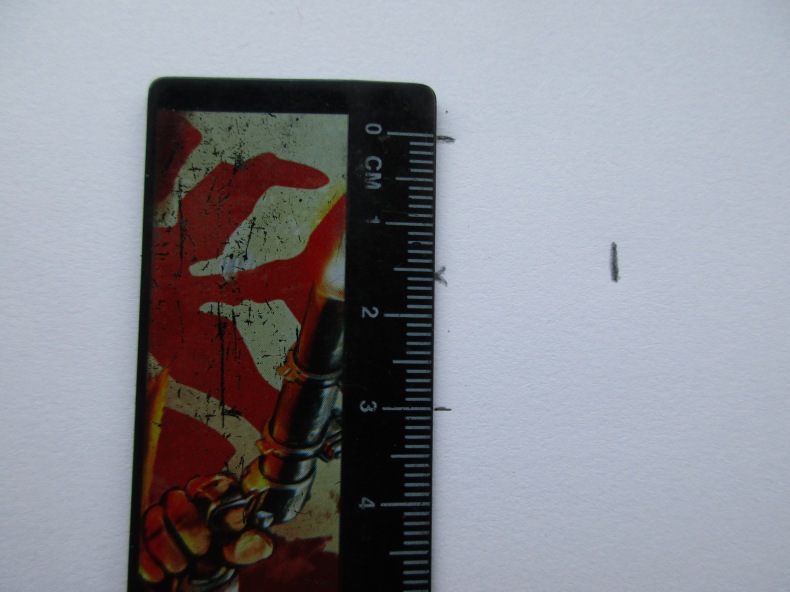 You are then left with 4 marks around the edge and a cross,join the 4 marks to make a rectangle like this (I just sketched but you can use the ruler if you find that easier)
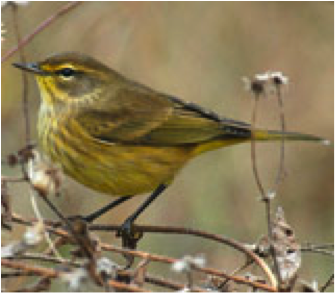
 Right,now you’re going to try out your drawing skills! Google ‘Garden birds’ and find a side-on image of a bird you like the shape of.Study it’s shape,the way the curve goes down at the back of his head and below his beak & the angle the tail emerges from the body.Have a little sketch,it usually takes me a few goes until I manage one i’m happy with.Remember,it doesn’t have to be detailed,just the outline of the bird shape.When you feel confident enough,sketch one in your box like this- here’s my bird and the photo I used.
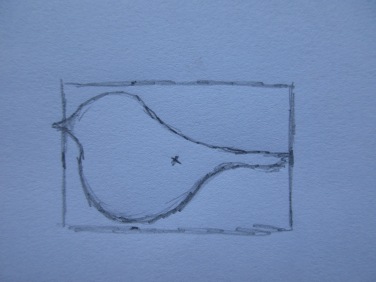
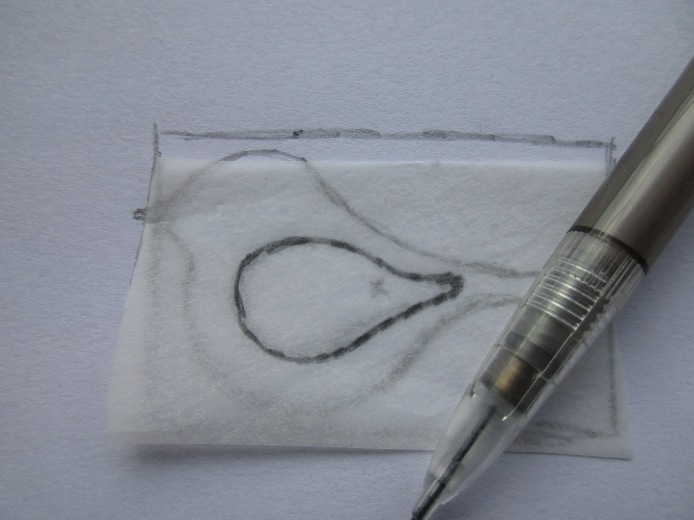
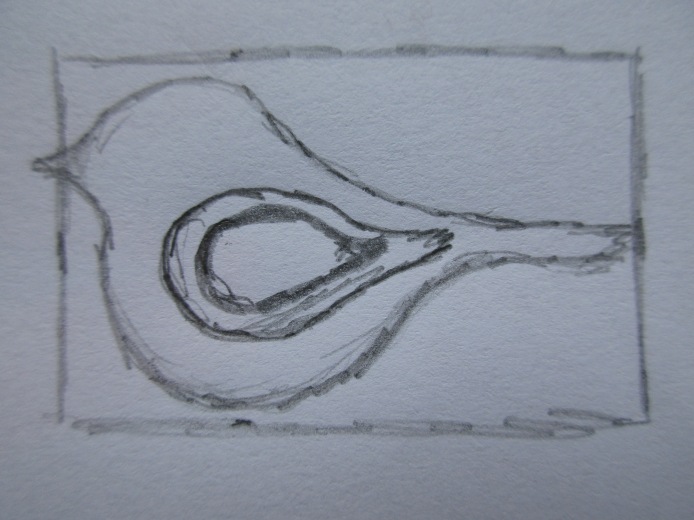
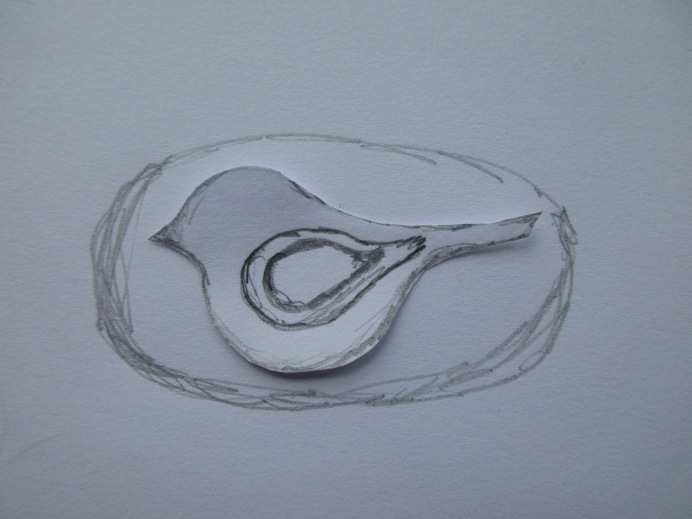
 You then need the wings,to do this i draw directly onto my bird template to ensure the right shape and size,then trace them from there.You need two,a larger one and a smaller one within that (see pictures below if that was as clear as mud 😉
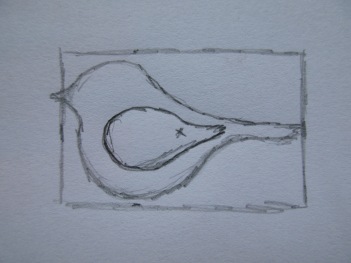
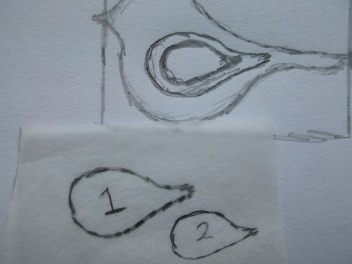 Cut out your bird and the wings & there you have your templates.Next you need your base shape,i usually draw mine freehand just around the bird but you can find a household object if you’d rather to draw round.
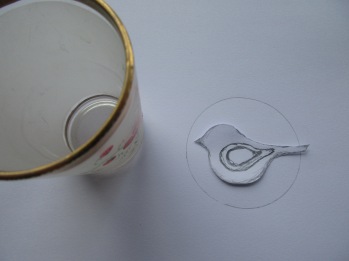
 Cut out your base shape and TAADAAAAAAAAH,you’ve created your own templates 😀
 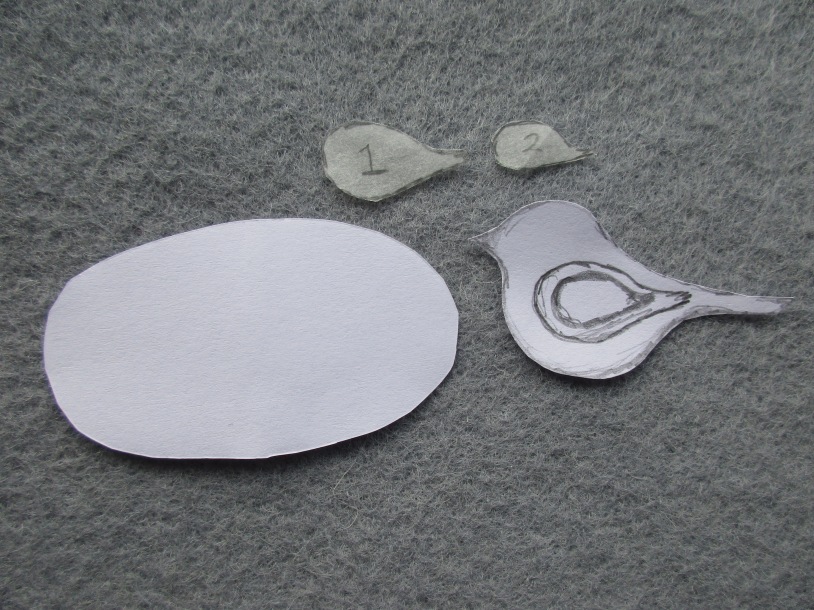 I was going to include the stitches you will need to complete the project in this post but I think that’d be cramming too much down your throat all at once so i’ll include those in the next post.Hope that was ok to follow,i found it surprisingly hard to transfer what is in my head into sensible,clear stages.If you have any questions at all please ask either in the comments or over on my facebook page (there’s a link at the bottom of the page)If you’ve found this useful please click on the ‘like’ button (either at the top of the post or down at the bottom) just so I know if there is any point in doing more tutorials,thankyou,Elaine xx
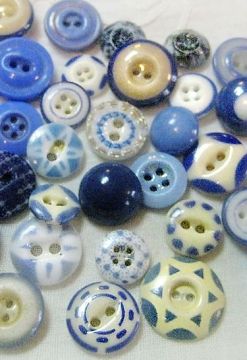
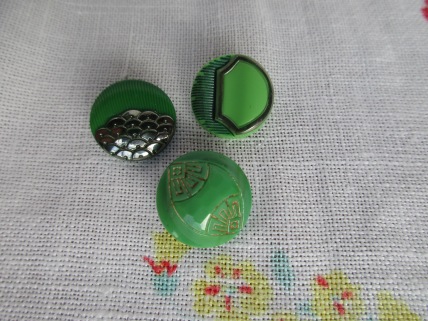
 The obvious ones to show you would be the crowd pleasers,coloured glass (I’m particularly partial to the green ones) and mother of pearl (known among buttony people as mops)…
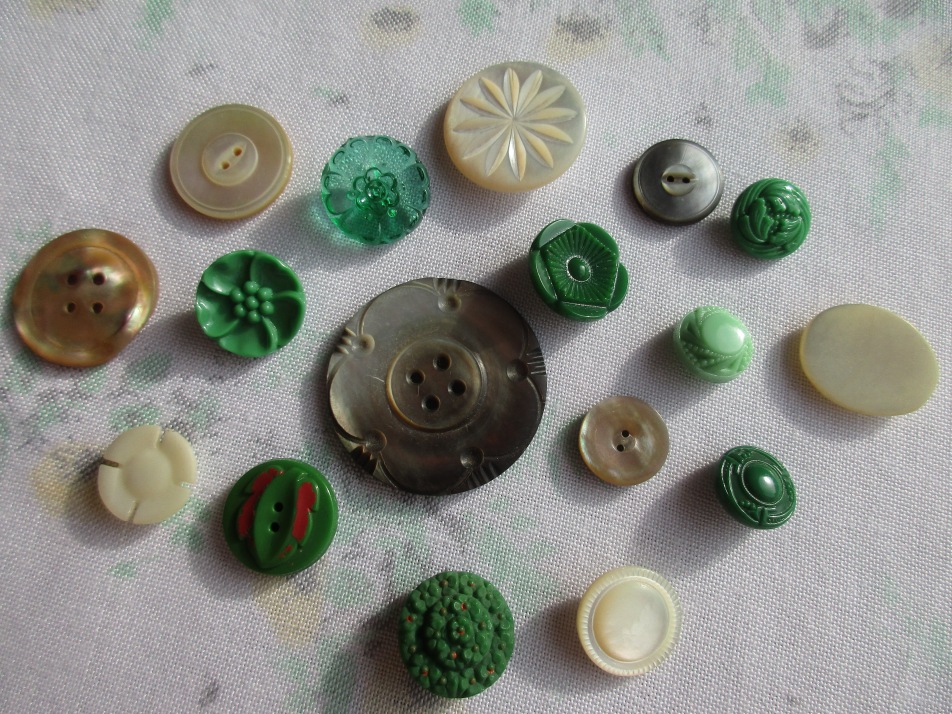 Or some of my dog button collection…
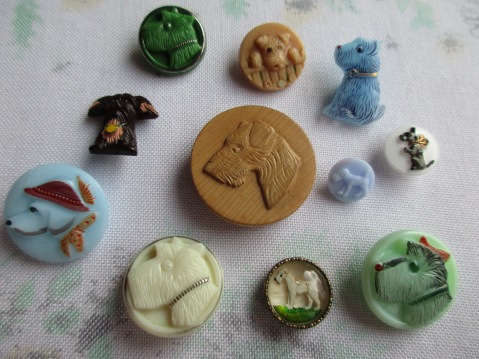 Yes of course they’re gorgeous but there are so many buttons that are unassuming at first glance yet if you look a little closer they’re beautiful,those are the ones I’d like to show you.The ones that,when you look past their flashier friends,are standing shyly in the corner waiting to be noticed .
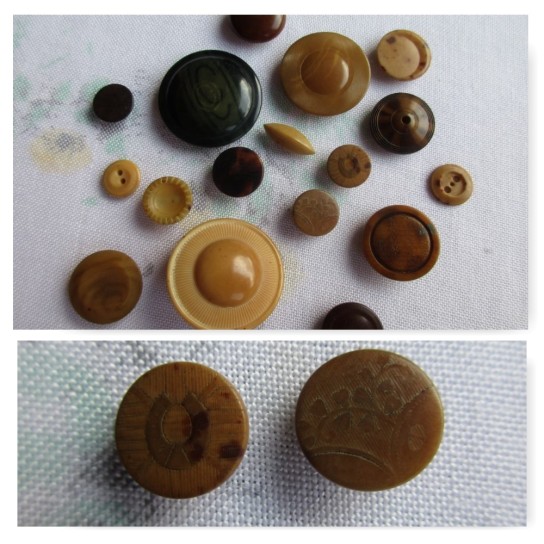 These beauties are made from tagua nut ,known also as vegetable ivory,I love the different tones and shades of brown.Most are plain but some if you look very closely have the teeniest,most intricate detail pressed into the surface.
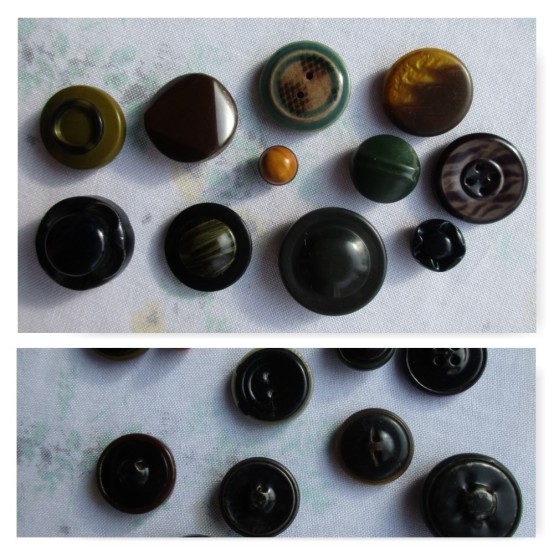 Tight and bubble topped celluloid buttons are always interesting.The back is usually metal and the front an early plastic called celluloid,the names indicate the method of manufacture- bubble tops are made from a sheet of celluloid laid over the back with a definite ”bubble” between the two,with a tight top the celluloid is laid flat against the metal back.I’ve taken a picture of the backs too in case you’d like to know how to recognize them.
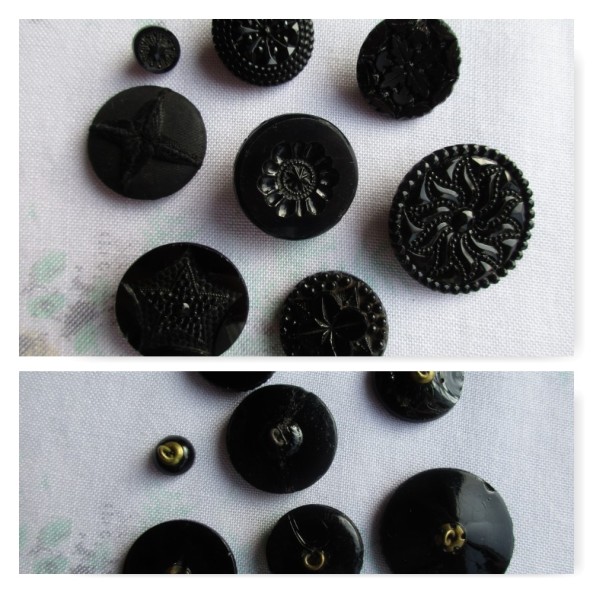 I’m not keen on more ‘modern’ black glass buttons but I do love Victorian mourning buttons.The thought they were worn in memory of a lost loved one makes me feel they shouldn’t just be left in a box and forgotten.Some of the buttons are flat black with no shine,Victorian mourning went in two stages-full mourning where nothing worn could catch the light and shine,then half mourning which enables the designs to be a bit more elaborate and glossy.These are mine,you can usually tell the age from the metal shank on the back.
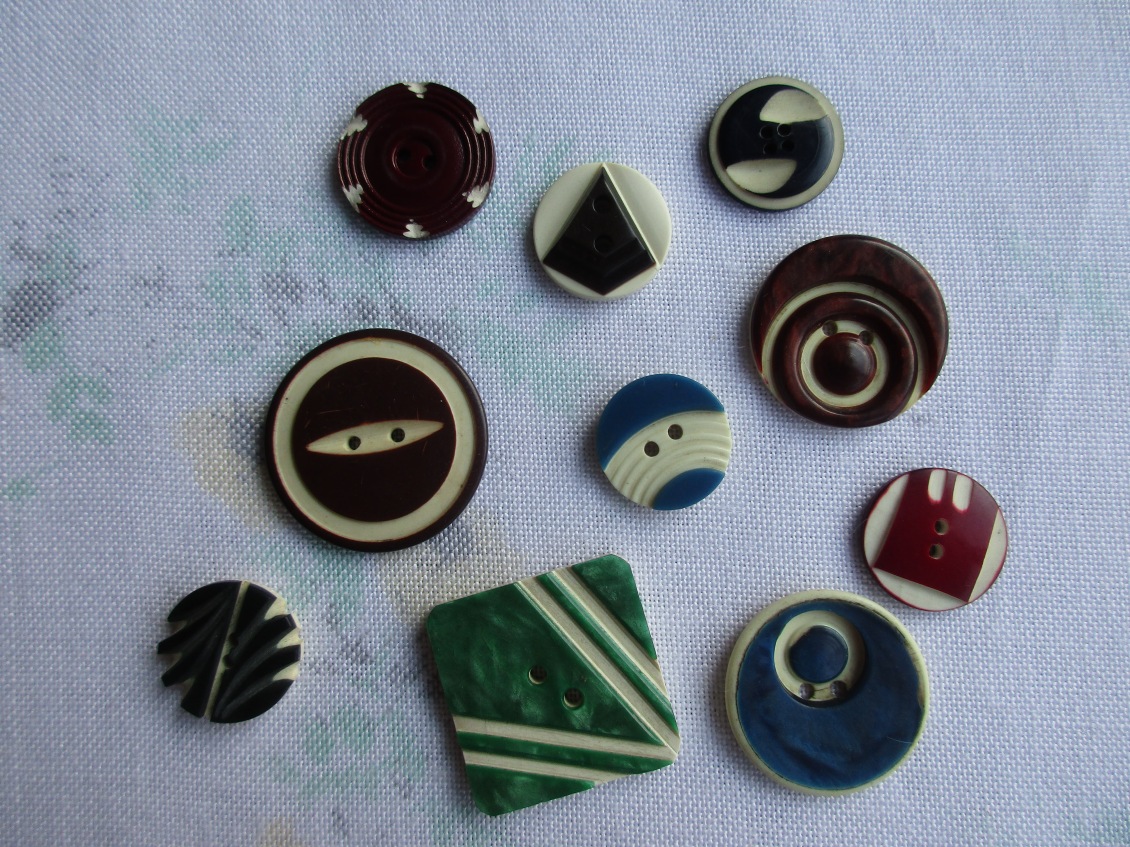
 and these,buffed celluloid,yummy 😀 (Image again via Pinterest)
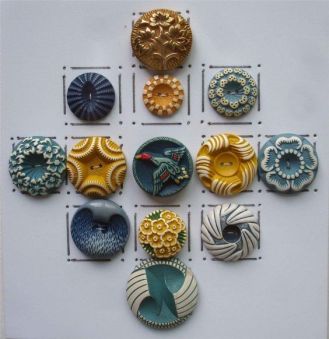 Ok,that’s me done for now,I hope I’ve not bored you to tears with this entirely self-indulgent post and who knows,maybe I’ve inspired a couple of new Buttoneers 😉
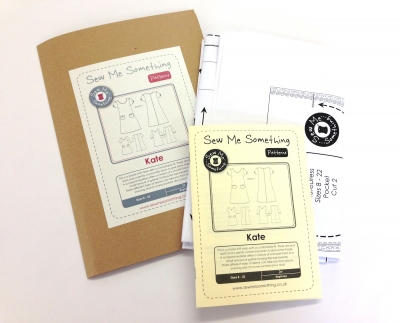 Things seemed to be going swimmingly,as I said the directions are great so ideal for a first time dressmaker like me and I’d soon sorted the neckline,bust darts and side seams.Excitedly I ran upstairs & popped it on…………Oh!.I’m only 5″2 and it really hadn’t occurred to me that fact had any relevance other than that it would probably need the hem raising by about 4 inches,unfortunately it does! The average British pattern apparently is drafted for heights 5″5 to 5″7 (I Googled it) so because my body is on the short side in proportion with the rest of me,the bust darts were positioned somewhere level with my navel.Also as I’d gone with the larger size due to the chest measurements it resembled a circus tent.
  Out came the seam ripper and it all came apart.There obviously were no directions telling me how to rectify this so my stitcher’s instincts came into action.I merrily hacked off a couple of inches either side and Googled (I’d be lost without it) how to draft bust darts.I found
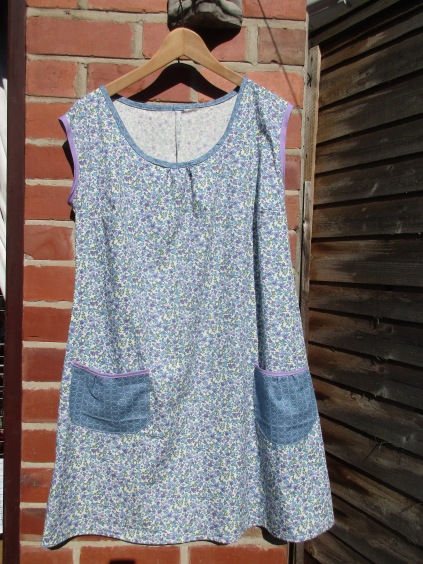 You don’t get a picture of me modelling it as I have an aversion to cameras but here it is 🙂 I wore it for the first time this week which is always the real test isn’t it? Does it ride up or pull in inconvenient places? But no,it fits well and was really comfortable so was worth the hours spent cursing and muttering to myself.It can’t have traumatised me too much anyway,I’ve already bought the fabric to make my next project,wish me luck! x

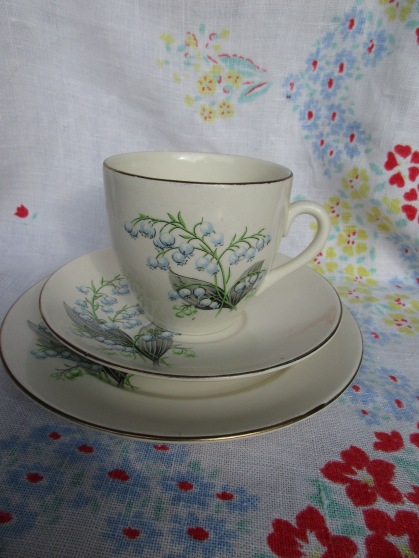
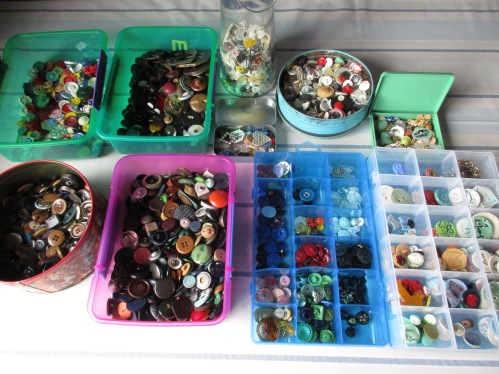
 Collecting old objects gives you a little peek into the past and I so wish that they could talk,what tales they’d have to tell I’m sure.
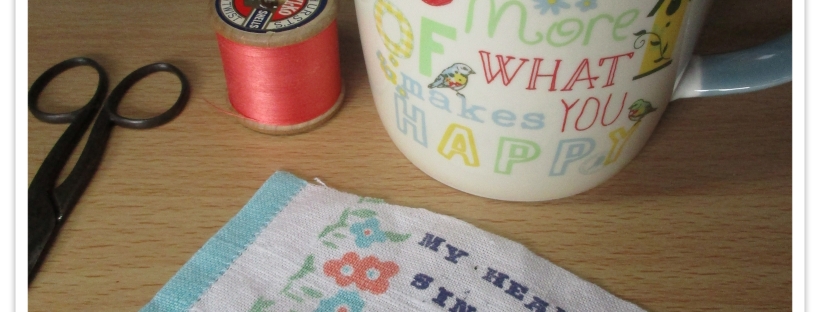
 Buttons,i love buttons .
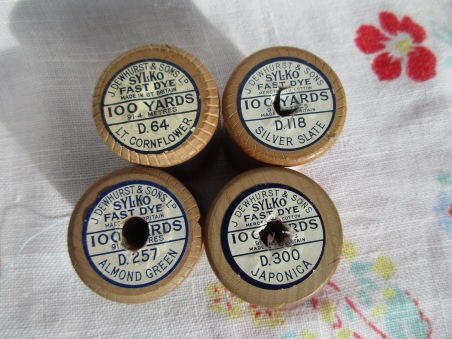
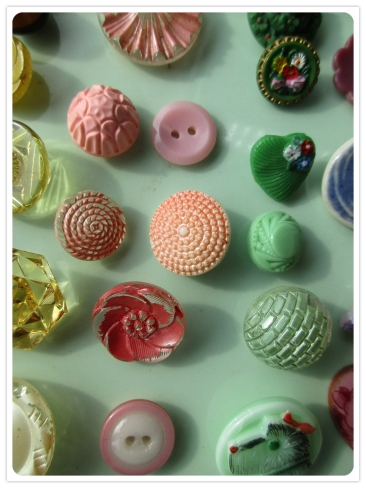 Anything vintage or antique.I’m a bit of a hoarder,you never know when things will come in handy do you?
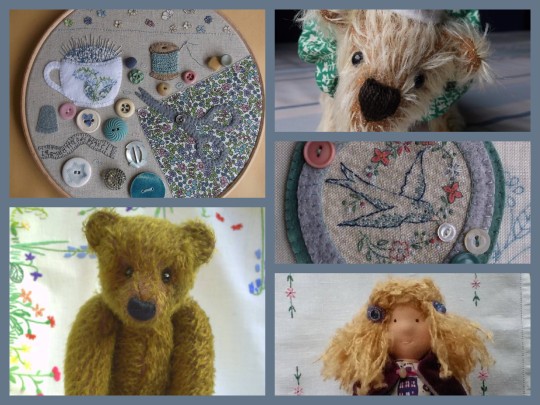
 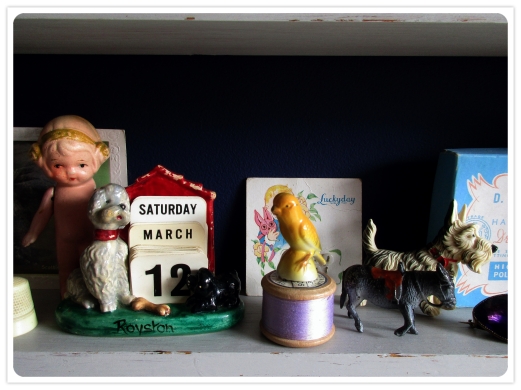 The work of other artists,here are some pieces by a few of my favourites (left to right back row)
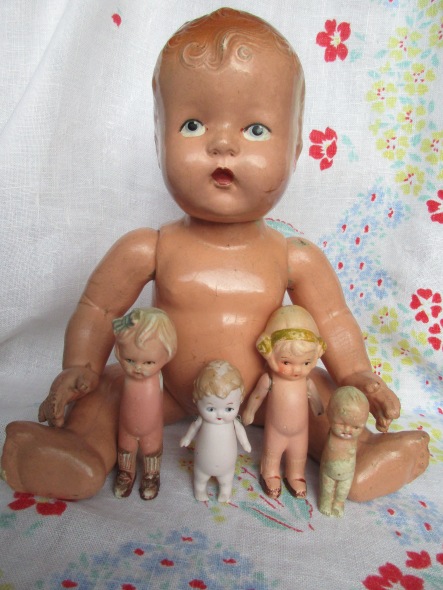
 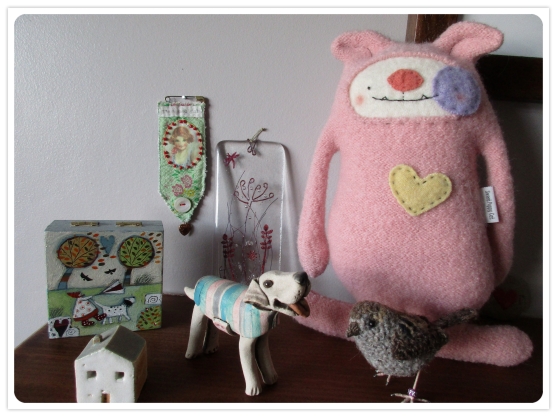 Oh and this lot might pop up occasionally,my tribe xx
 Thankyou for reading and I hope you pop by again x